
How to use your own DNS with frii.site?
NOTE
Unless you are self hosting your own DNS, this will most likely not work. Companies such as Cloudflare will not allow you to do this, since we are not on the Public Suffix List yet
1. Create a new NS record
Create an NS record inside frii.site
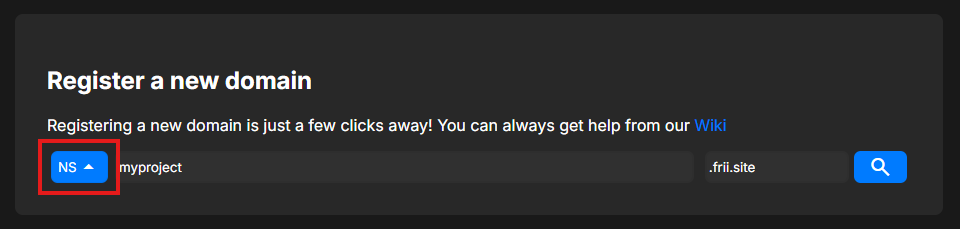
2. Set the value to your DNS server
Set the value of your new NS record to your DNS server. For this example, we are going to be using ns1.frii.site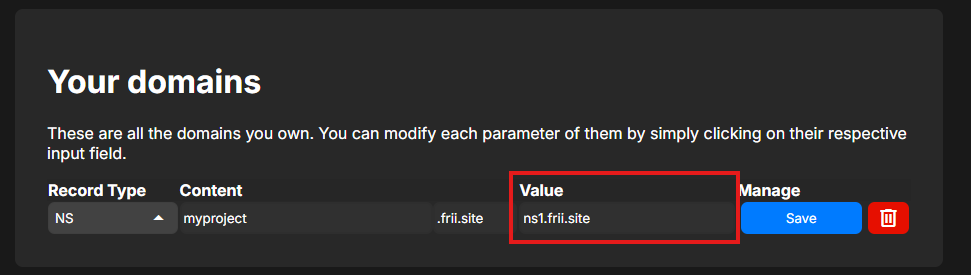
3. Create a DNS zone for your new domain
We need to create a new zone for your record. For this guide, we are going to be using PowerDNS's web portal, but you could use something like BIND9. 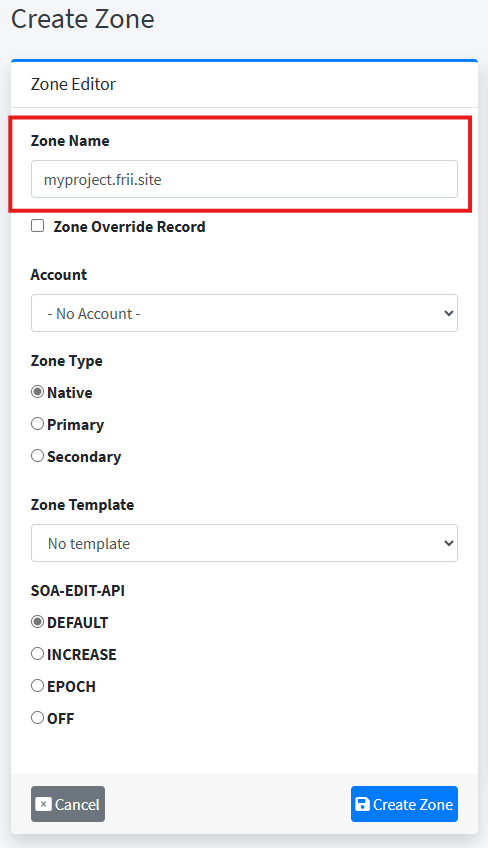
NOTE
Most of the settings listed above can be left as is.
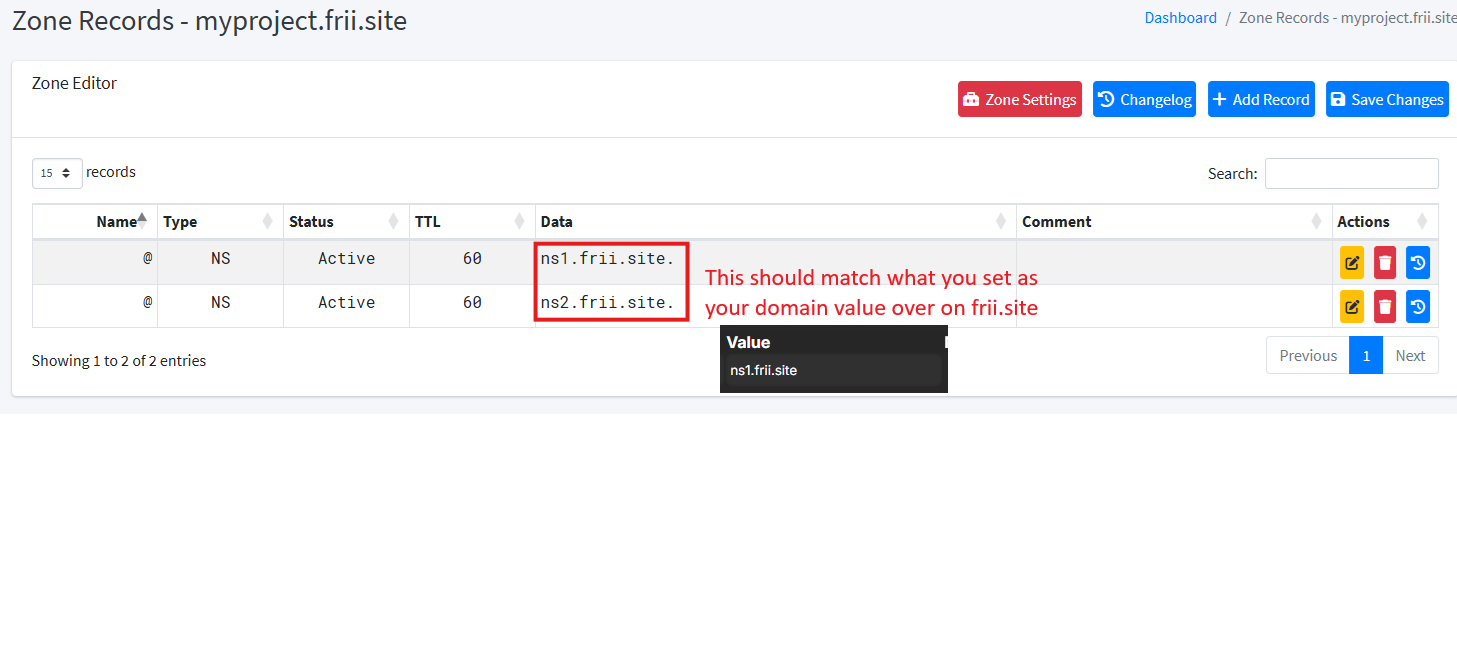
4. Create the required records for your domain
We need to create DNS records for your domain. Only one record is required, but we recommend you to create two, since we are going to be supporting multiple NS records over on frii.site in the future.
Create an apex NS record (@), pointing to your DNS server.
@ IN NS (your DNS server)
5. Try it out!
Create a new record on your new zone, and try pinging it. 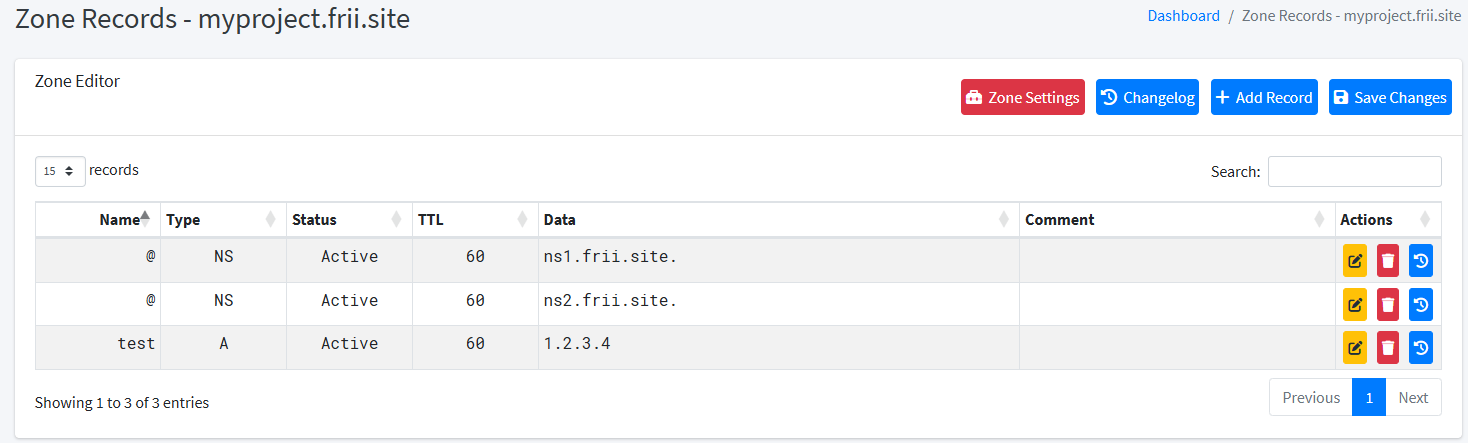
This is what a succesfull response should look like 
If you see an error, you have most likely done something wrong. You can either try figuring out the problem yourself, or ask help over on our discord server. https://discord.gg/ANeVwQ5yWq